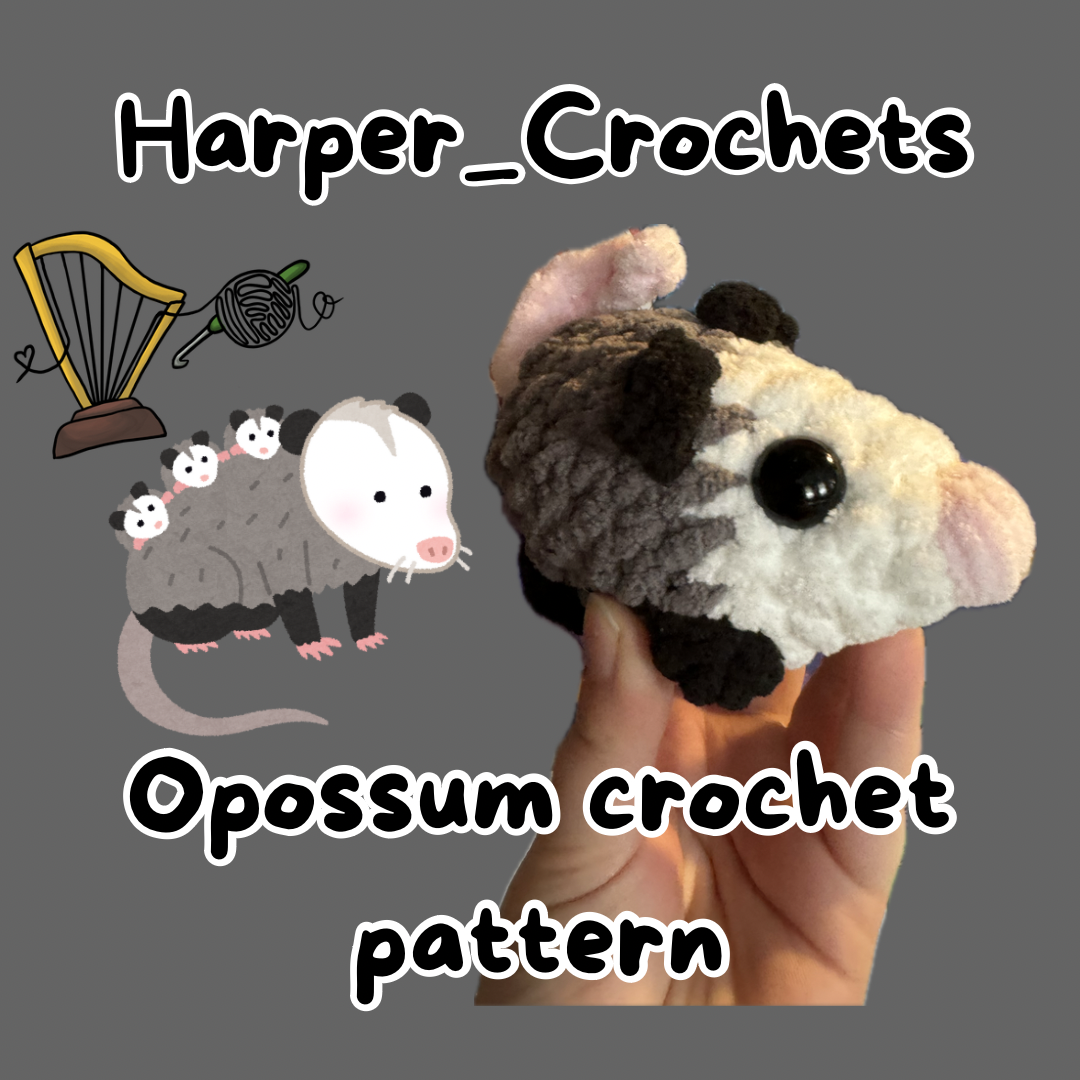
Crochet starter kit FREE pattern
Here you can find the FREE written pattern included with my crochet starter kits. This pattern is also available for sale as a pdf to download on my shop, or for free as an Instagram post.
For this pattern I use Bernat blanket yarn or Snug as a bug yarn and a 6.5mm hook. However for a mini opossum, any weight 5-6 chenille yarn and a 5mm hook (hook included in the starter kit!) will be perfect.
This pattern is great for practising crochet plushie making as it uses the basic stitches for amigurumi plus some specialist stitches and techniques that are found in a lot of plushie patterns!
Before we start:
Please do not copy, sell, or redistribute this pattern as your own. You may use the final product as inspiration for writing your own pattern, but do not reproduce it to sell, thank you!
This pattern was tested by @littleduckiescrochet and @treble.trouble.crochet over on Instagram. Any future patterns I write and have tested will be tested through Instagram, so if you'd want to test for me, please head over to @harper_crochets and give me a follow!
Materials:
- Grey yarn (yarn not included in the kit, you can change these colours to any 4 colours you'd like!)
- Black yarn
- White yarn
- Light pink yarn
- 12mm safety eyes (freebie in the kit) if using chenille -recommended, 16mm (hand painted 16mm eyes included in the kit!) if using blanket -what I usually use!
- yarn snips (included in the kit!)
- darning needle/ yarn needle (freebie in the kit!)
Abbreviations:
- single crochet- sc
- bobble stitch- bbl
- single crochet increase- inc
- single crochet decrease- dec
- chain- ch
- slip stitch- sl st
- magic ring- mr
- slip knot- slip knot
colour changes will be notated by- cc to "colour"
Tips:
For my bobble stitches in this pattern I do them until there are 5 loops on my hook!
Where you see *...*, repeat the instructions between the asterisks as many times as the next part of the instruction says, or until the end of the round!
I recommend using a stitch marker (2 are included in the kit!) to mark the last stitch of each round, starting from the last stitch in the magic ring, and moving your stitch marker up to the next last stitch each round!
The number in brackets at the end of each instruction is how many stitches you should have made in that round!
To make a bobble stitch: *yarn over your hook, insert into next stitch, pull up a loop, yarn over, pull through two of the loops on your hook* repeat *to* 4 times until there are 5 loops on your hook. Yarn over, pull through all loops on hook. Bobble stitch complete!
I will leave beginner tutorial recommendations here for learning stitches!:
Bella Coco on YouTube has this amazing playlist of crochet tutorials for ABSOLUTE beginners, and I used many of these tutorials myself when I was learning to crochet for amigurumi!
https://www.youtube.com/watch?v=GCHu8xkIbJE&list=PLsrz34yAA5TpH1yiwiZxVMftP_8hokT12
The pattern:
Start in white yarn
Round 1: 6sc in a mr (6)
Round 2: *1sc, inc* x3 (9)
Round 3: *2sc, inc* x3 (12)
Round 4: *3sc, inc* x3 (15)
Round 5: *4sc, inc* x3 (18)
CC to grey yarn- this is where it gets tricky, take your time to read and understand the instructions!
Round 6: 4sc, CC to black yarn, 1bbl, CC to grey, 4sc, CC to black, 1bbl, CC to grey, 8sc (18)
Round 7-9: 18sc (3 rounds of 18 sc)
Place 12mm safety eyes now: they should be between rounds 3 and 4, 4 stitches between each eye, opposite the black bobbles (legs) or roughly 3 stitches bow each bobble. (See the photo below)

We will now put down the body of the opossum to work on the ears! I recommend placing a stitch marker in the loop of working yarn, so the project doesn't unravel. By the "loop of working yarn" I mean the loop at the top of the stitch that you've just made, which your hook should've been in, and it should be able to be pulled to make the loop bigger. Clip your stitch marker into that loop, and that will help you find where we pick back up!
Ears (make 2) in black yarn
Tip: leave a 4-6 inch tail on the magic ring!
Round 1: 4sc in a mr (4)
Do NOT connect to the first stitch of the magic ring! Instead, chain 1, cut your yarn 4-6 inches from the hook, and pull the tail of yarn all the way through.
This should leave your magic ring in a "C" shape with one tail of yarn sticking out from the middle of the "C", and one at one of the end points of the "C". Using a yarn needle, weave the tail from the middle of the "C" to the end point of the "C" OPPOSITE the other tail. You should now have a tail at each point of the "C".
Make another of these "C" shapes.
With your yarn needle still attached, weave the first tail of ear 1 through to the inside of the body of the opossum. You should enter the body 2 stitches behind the top of the eye, where the colour change to grey happened. Weave the other yarn tail from the magic ring into the body, 2-3 stitches down from where the first tail is weaved in, it should align with the bottom of the eye. Repeat for ear 2 on the other side, aligned with the other eye.
Carefully flip your opossum body inside out. There should be 4 black yarn tails hanging on the inside of the project where the ears are on the outside. Take the two tails for one ear and tie them tightly in a triple knot. Repeat for the tails of the second ear. The ears are now secure, and when you fit the project back o the outside -do this now!- the ears should have a slight curl to them, depending on how tightly you knotted the yarn tails. Push the curve of the ear so the ears point forward.
Back to crocheting the body! Put your hook back into the loop of working yarn that you put the stitch marker into. You can take the stitch marker out.
Still in the working grey yarn
Round 10: 5sc, CC to black yarn, 1bbl, CC to grey yarn, 3 sc, CC to black yarn 1bbl, CC to grey yarn, 8sc (18)
Round 11: *1sc, dec* x6 (12)
Stuff the body here!
Round 12: *dec* x6 (6)
Fasten off: snip yarn leaving a 6 inch tail, ch 1, pull through.
Using your yarn needle weave the tail under the next stitch's front loop (the stitches should each form a "V" shape, with one "\" on the outside, and one "/" facing into the hole in the opossums bum). Weave your yarn tail under the second stitch's front loop, and the third front loop, and repeat this weaving for all 6 of the stitches in the final round. Once you have done this, you can pull on the needle to pull the weaving tight, this should close the circular hole in the project. Finally, weave your needle into the body through the centre of the closed circle, and push it out of a random stitch in the body. Next you want to push your needle into the body again, this time 1 stitch over from where you came out. Again push out the needle in a random different stitch of the body. This acts as an anchor for the woven in tail of the closing round.
Wahoo! Now it's just the tail and nose!
Tail in light pink yarn
Step 1: Make a slip knot with a 4-6 inch tail and put it on your hook.
Step 2: Sl st into the back of your opossum, at the top left of the final round.
Tip: insert hook into the stitch on the body with the sl st on the hook, and perform a usual sl st by yarning over and pulling through the loop made from yarning over AND the loop of the sl st on your hook! This can be fiddly if the slip stitch is too tight, so don't force it! If it's just not pulling through, make the slip knot again but make it looser, and try the slip stitch again!
Step 3: ch 8
Step 4: turn your work, and starting in the second chain stitch from your hook, sc 7 down the chain you just made.
Tip: the 8th chain acts as a turning chain, which essentially gives you space to manoeuvre! This is why once you've turned your work, the 8th stitch of the chain, becomes the 1st chain from your hook, and because working into that 1st chain from your hook is very fiddly, we skip that one and work into the 2nd chain from the hook.
Tip: when you place your 7sc down the ch, there should be 1sc per ch. Make sure to count your stitches and only make 7sc, otherwise if you have too many stitches the tail will start to form a spiral shape and be curly like a monkey's tail, and doing too few will cause the tail to bend to the side!
Step 5: sl st into the body, 1 stitch across from the starting sl st. This should make your tail central to the back.
Step 6: ch1, snip your yarn leaving a 4-6 inch tail, pull through to fasten off.
Step 7: weave in your ends by threading a yarn tail onto your needle and pushing the needle into the same stitch the tail either finished or started with, and push the needle to emerge from a stitch on the body. Repeat this for the other yarn tail, pushing the needle out in the SAME stitch as the first tail. You should have 2 pink yarn tails sticking out of the same stitch in the body of your opossum. Tie these two tails in a tight double knot (this may pull the tail and bum in on itself slightly, don't fret we'll fix it!) and use the end of your needle to push the knot you just made back into the body of the opossum. (This should loosen any tightness in the bum of the opossum, and if it still caves inward, just pull on the tail gently until the bum is flat again!)
Almost there! Just embroidering the nose to go!
Nose step 1: cut a length of light pink yarn which is 15 inches or more long and thread it onto your needle
Step 2: insert your needle into the opossum's underside, between the front legs, and push the needle out of the underside of the opossum, right below the tip of its nose. Pull the length of yarn through the body until there is roughly 2 inches sticking out of the stitch between the legs
Step 3: loop the pink yarn over the top of the nose and push the needle into the stitch on the top side of the nose directly opposite the one you came out of on the underside. Push the needle back out of the same stitch the underside of the nose.
Step 4: continue to embroider over the point of the opossum's nose as many times as it takes until the point is fully covered in pink, and is slightly bulky!
Tip: you may need to guide the yarn into place while embroidering. Simply hold/push the yarn into place as you loop over the point of the nose each time. Make sure the embroidered pink part is even and there are no gaps of white showing through!
Step 5: from whichever side of the nose you finish embroidering on, make one more loop over the nose, but instead of coming out of the other side of the nose, push your needle back to the stitch between the legs that has the 2 inch tail sticking out. You should now have 2 yarn tails sticking out of a stitch between the opossum's front legs, one should be roughly 2 inches long, the other will be however much yarn you have left after embroidering the nose!
Step 6: cut the yarn tail that is still on the yarn needle to roughly 2 inches long and remove the needle. Tie the two 2 inch tails together in a double knot and use the end of the needle to push the knot into the same stitch it's sticking out of!
Tip: you may have some light pink yarn left after embroidering the nose, but don't throw this scrap away! You can use it as stuffing for your next amigurumi project!